Around the time that I bought it, the Packard Bell Easynote had a reputation for being a lap warmer. Indeed. The fan was always roaring, and I could have roasted marshmallows in the hot air that blew out the side. But over time the airflow seemed to weaken, and the laptop to heat up more, and one day it spontaneously shut down. Turning it on again after it had cooled a bit, and waiting for the fan to kick in, I found that no air whatsoever came out at the side. I suspected dust, and took a look at the screws to see what screwdrivers I would have to buy to open the case.
Being so tightly packed, laptops are more daunting to open than desktop machines. The screws are tiny and fiddly, and require ditto screwdrivers. (See the closeup in picture 2: click on it to see a larger image.) Fortunately, sets of mini-screwdrivers (see picture 1) are available at any shop that sells generic hardware.
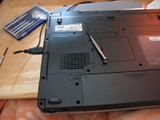
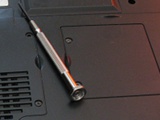
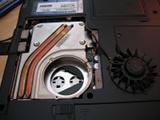
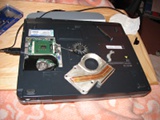
Also, laptops not being meant to take apart, their components are usually deeply buried. The ventilator is easy to spot, though. The cover is attached with a few screws and comes off easily. Ditto the black plastic ventilator, which is attached by three screws. Not visible in these pictures: to stop the tiny screw rolling away and getting lost, I had the laptop on a big wooden tray and put the screws in the screwdriver case.
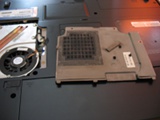
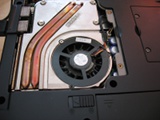
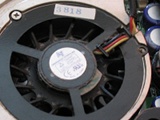
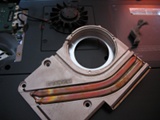
A closer look at the black ventilator reveals dust around it, and gunk on the blades. That's not where the real problem dust is, though; that's in the metal body around the ventilator, which is why both have to be unscrewed and lifted out of the case.
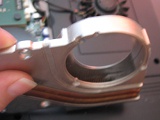
And yes, the hollow where the ventilator usually sits is filled with dust. The picture on the left is what it looks like with the worst of the dust removed. Said dust, having compacted into a corner until it was as thick and solid as felt, is shown in the picture on the right: it's the grey wad below the computer's serial number sticker.
Below is the last picture I took before putting the components and screws back in, to show the laptop, with a cooling pad underneath it, resting on the wooden tray. With the dust gone, the laptop was once again suitable for roasting marshmallows.
Sadly, this doesn't work for all laptops. I later bought an Acer Aspire laptop, which, after a few years,
developed a noisy fan, probably because of accumulated dust. So I dug up the
screwdriver and opened the panel on the back. This did not give me the same easy
access to the fan. Removing the entire back proved impossible, since some of the
screws were fastened too tightly, which is just as well, as watching a Youtube
video of a similar laptop being disassembled showed me that I would have to
remove both the back and front, including keyboard, just to get at the fan. A
design flaw, in my opinion. So this laptop will be sent to a shop for
professional cleaning, and until that time, it sits on the cooling pad to stop
its own fan kicking in.