

| Sim downloads |


This is the page for Sim-related stuff that doesn't fit anywhere else.
For anything QuickBasic, the version used is QB 4.0.
A QuickBasic script to make wallpaper sprites
As explained at the bottom of
Utility Quirks,
the two wallpaper-making programs for the Sims that I know of, don't
"tile" the images. To "tile" an image is to make sure that its edges
match, so that copies (tiles) of one picture can be used to fill a
bigger area and look like one big picture, because you can't see where
one tile ends and the next tile begins. And you don't want to see where
one strip of wallpaper ends and the next begins, either!
These two utilities take an unpaletted full-colour bitmap and reduce
its colours to 256 to make a palette. In doing so, they will slightly
alter the bitmap's colours. This may result in seamy wallpaper, even
if the original bitmap was tileable.
In wallpapers with colour gradients, the slight colour change may also
lead to "banding"; the wallpaper seems horizontally striped. Using the
"Noise" effect in Paint Shop Pro to break up the bars of colour helps a
bit, but doesn't solve the problem. Wouldn't it be great if I could make
256-colour wallpaper graphics in all views and zooms and then just code
them exactly as they are. I posted about this on the IFFSnooper forum
and its author pointed me to a site with the description of the SPR#
format, which is what wallpaper sprites use.
The first thing to do is to make a "mask" - a file with cutout
sections for the wallpaper sprites - and copy this for as many
wallpapers as I want to make. Next, I have to fill in all these
cutouts with wallpapers. The method I use is: make "diagonal"
wallpaper for all three zooms. Resize the three wallpapers to half
their width and some added height for the skews. For each half-wide
wallpaper, skew a copy 27 one way and Adjust colours -> Brightness -4
(this is what it's called in Paint Shop Pro, the idea is to lower the
RGB values by 5), and skew the other copy 27 the other way and Adjust
colours -> Brightness +6. (Yes, those are the correct settings. Beware
of the skews, the diagonal edges may be irregular and need fixing.) That's
three views done for each zoom. The fourth view, the narrow transverse
section, is just a strip copied and pasted from the flat diagonal graphic.
When all zooms are done, decrease colours to 16-bit and then to 256
colours in a way that won't degrade the wallpaper. This is what the
wallpaper utility would normally do for me and what I'm now doing for
myself.
Next, I "swop halves" on every graphic except the transverse
section. I take the graphic, cut about half away on the left side,
stick it back on the right side and move the whole graphic back in
place. What was edge before is now in the middle, and I can see if
there are any seams. If I spot a seam, I repair it by copying a
non-seamy strip from elsewhere in the graphic over it.
Now that I have a big bitmap containing all views and zooms
in the right colours, I need something to convert it to a SPR#. In
my case the conversion is done with a script "wallpap.bas" running
under QuickBasic 4; I don't know how well this script would work
with all the other flavours of BASIC out there. Considering it
took a year to write, the script is pretty quick'n'dirty, and a
good BASIC programmer could probably tidy it up a little. But it
does the job. I call the bitmap "wallpap.bmp" and put it in the
same directory as the script, then run the script. Lots of
temporary files are made and erased again, leaving me with PALT.IFF,
SPR#1.IFF, SPR#1793.IFF and SPR#2049.IFF. These are the palette
block and the small, medium and large sprite blocks for the
wallpaper. They can be imported into a copy of an existing wallpaper
with IFF Pencil or IFFSnooper (they're .wll files, so no need to
worry about GUIDs) and hey presto, you have a custom wallpaper.
The price and description are in the STR# block and can also be
changed with IFF Pencil or IFFSnooper.
The file wallpap.zip contains: the
script "wallpap.bas"; the mask file "allmsk.png", and a rough
"examp.png" I kept to remind myself how to make the skewed walls.
A QuickBasic script to convert SKN to BMF
As explained in the Utility Quirks,
BMF2SKN produces game-crashing BMF files if the processed SKN has
blend vertices because, illogically, the blend values should be stored in
reverse order in the binary version. This script also converts a SKN to binary
format, but puts the blend values in the order that the game demands. Like
the wallpaper script, this is a messy utilitarian script to "do the job" - it's
not monkey-proof and doesn't correct SKN errors, so the SKN should be tested
beforehand. As QB doesn't accept long filenames, the skin has to be renamed to
"X.SKN" and put in the same directory as BMF2SKN.BAS, which will read X.SKN
and output X.BMF. Unlike the wallpaper script, this script could be made into
an .EXE file by QB 4.0 (which is needed to run the file anyway), which opens
possibilities for batch files.
Download skn2bmf.zip.
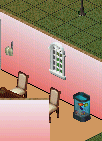
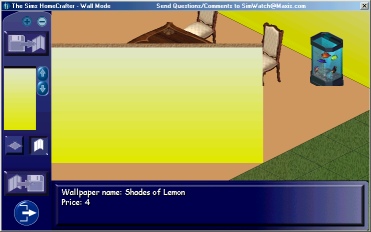
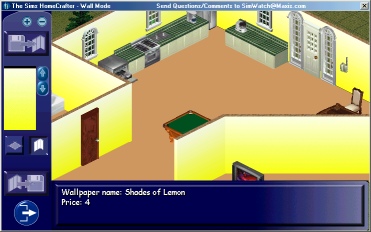
The difference between the banded and unbanded yellow
wallpaper is hard to see when the monitor is set to truecolour,
but obvious at 16bit colour. The example on the left also shows
the colour shift of the automatically processed wallpaper.
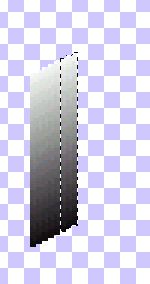
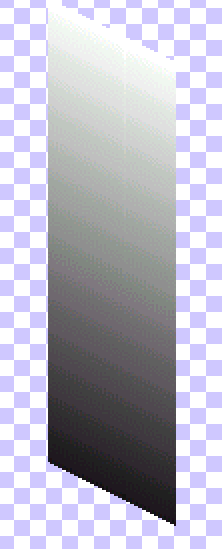
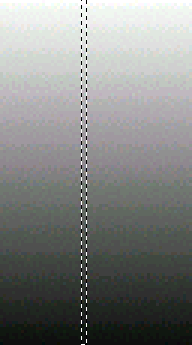
Swopping halves on the smallest skewed zoom; a light seam
approximately down the middle of a larger zoom; repairing a seam.

The Flame Glow wallpaper made by HomeCrafter, and remade by
hand: an obvious improvement.


